


 Feature articles

Active GUI element
Static GUI element
Code
WPS object
File/Path
Command line
Entry-field content
[Key combination]
Lotus Approach
A first step in making a database
Arthur van Egmond lives in the Netherlands. He is married but doesn't have any children yet. He works for the government in the department of Social Security and his main job is to keep the client computers up and running. His first experience with OS/2 was with version 2.1. Since then he upgraded to eCS 1.2. He owns or at least has seen nearly all versions.
Lately, I wanted to do something about the enormous collection of movies I have. So I thought it would be a good idea to catalog them in a database. Over the next few months I'm going to tell you how I created my databases. If you are interested, come on board and enjoy the ride. For those who never used Lotus Approach before, please read on because in this article I start with the look and feel of Lotus Approach. I'm not an expert and I still have many things to learn but what I know I would like to share with you. So let's start.
Applications used:
- Lotus Approach (Smartsuite 1.7.1)
- Gotcha 1.75 (taking snapshots)
- PMVview Pro 3.12 (editing snapshots where needed)
When you fire up Approach for the first time, you see this window.:
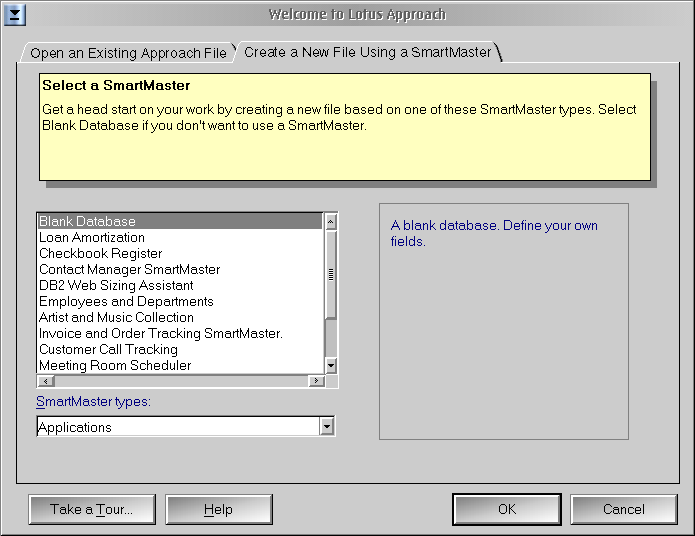
Fig. 1: Approach startup screen
Now, there are a few things you can do here. The first time it is useful to open an existing database and have a peek on how these databases are created. We are going to create our own database and leave the default selection to Blank Database and click on OK.
After we have clicked the OK button, we are presented with the next window.

Fig. 2: New database dialog
In this screen we name the database, right under File name, and specify the location where we save the database. The default location is the APPROACH directory in the WORK directory. You can leave it like this or you can change the directory to any other location. For the explanation of the look and feel, we name the database lookfeel and leave the location unchanged.
The .dbf file is the file where Approach stores all the records. Further, Approach uses .apr files. This file contains all the information about layout, color, macros, etc. The last file Approach uses is an .adx file. In this file, Approach stores indexes.
When you have entered a name and clicked on the OK button, Approach leeds you to the window where you can add the fields you want to use.
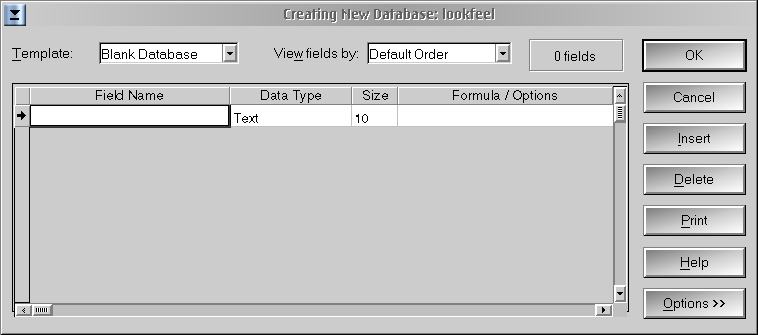
Fig. 3: Approach field definition dialog
You see the following options:
- Fieldname
- The name of the field. For example, Firstname.
- Datatype
- What kind of information to store in this field.
- Size
- The number of characters allowed in this field.
- Formula/Options
- Is there a formula or an option for this field?
It would go too far to explain all options or datatypes. It's sufficient to know that you can adjust the datatype. For example, for the field Telephonenumber you don't need the letters of the alphabet, you can set the type to numeric so only numbers are allowed. When you press the Options button the window extends.
For now it's enough to add just one field. This is not our main database. Next time we will start with the original database. Name the field lookfeel and click on OK.

Fig. 4: Extended field definition dialog
Here you can see some of the options you can add to the field. We will be using only some of the options.
When we are finished adding the fields, Approach presents us with a default layout with all the fields (Fig. 5). For now there is only one field. Next time we are going to change the look and feel but for now we just leave it like this.
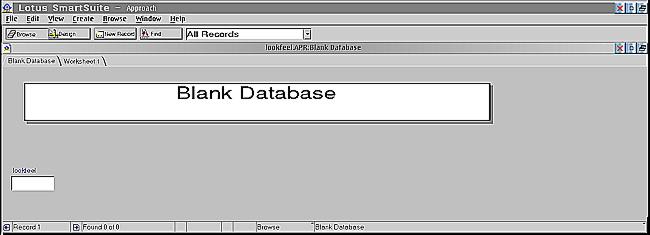
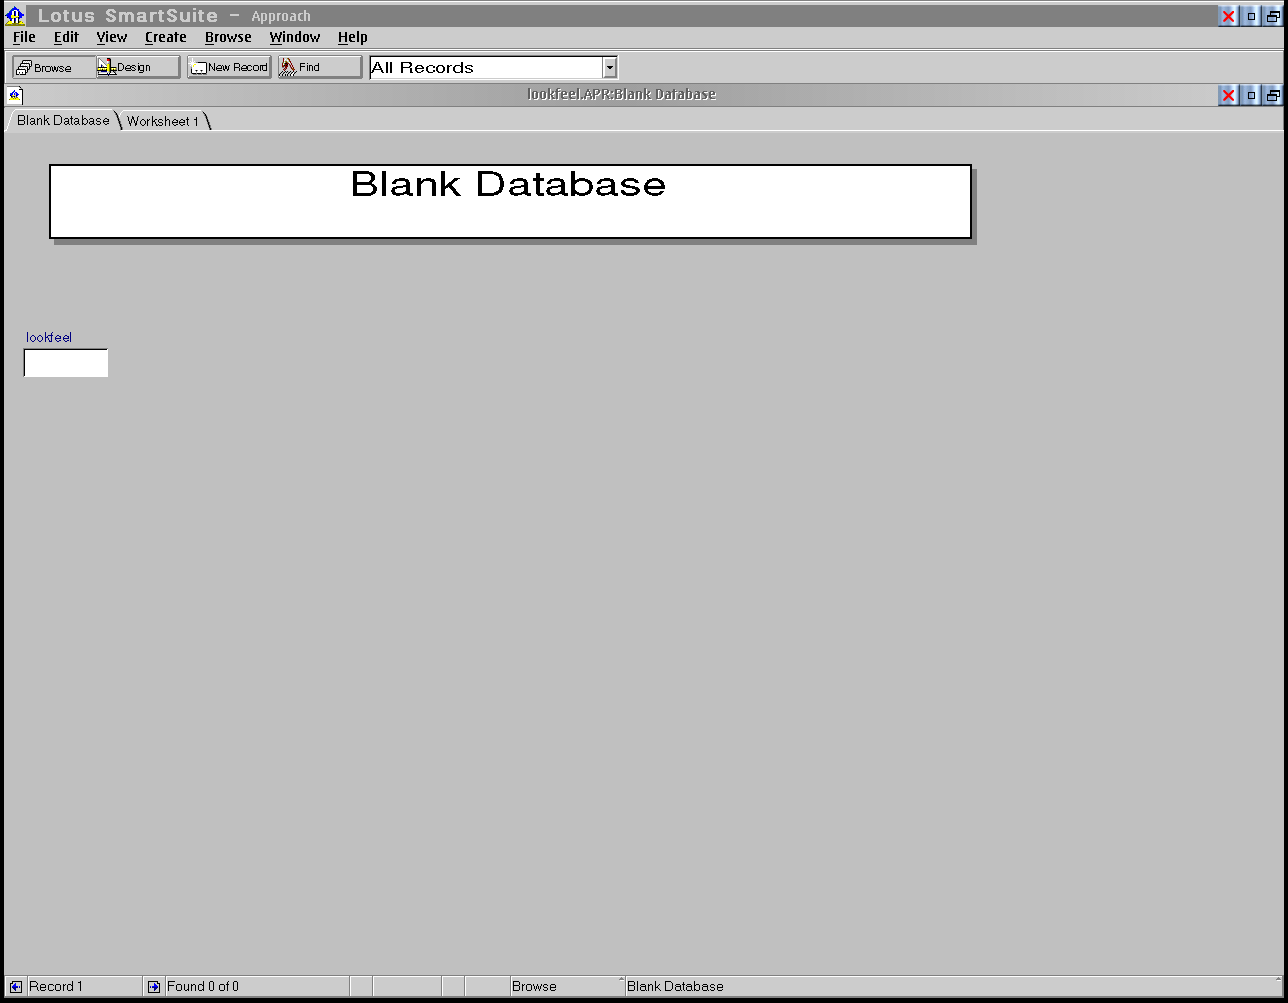
You see a menu, some buttons, your work area and a statusbar at the bottom. By default, the Browse button is selected. This means Approach is ready and waiting for you to add records. For the fun part, just click on the Design button. Some things change. The workarea is gridded. There is a Tools palette. You can also have rulers displayed by default. Settings like these can be adjusted in the menu item File: select User Setup > Approach preferences (Fig. 6).
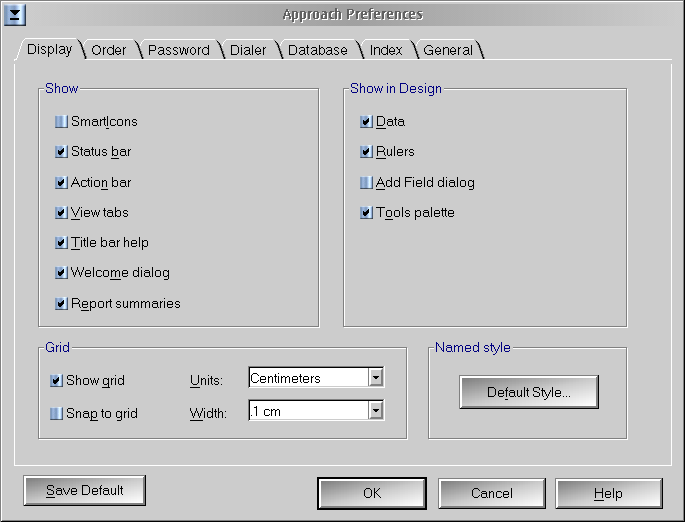
Fig. 6: Preferences
You can also see that for Design mode, Data, Rulers, and Tools palette are enabled.
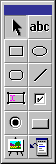
Fig. 7: Tools palette
The Tools palette is used for many things.
- arrow selects fields.
- abc creates a textbox.
- rectangle creates a square or rectangular shape.
- rounded rectangle creates a square or rectangular shape with rounded corners.
- oval creates a oval shape.
- rectangle with the dots and letter creates a field.
- checkbox creates a. . ., yep, you've guessed right! A checkbox.
- radiobutton creates a radiobutton.
- raisen rectangle creates a button.
- tripod creates a picture field.
- And last but not least when you click on the last icon, you get the add field box.
Now click with the right mouse button in the gray dotted area and select form properties with the left mouse button.
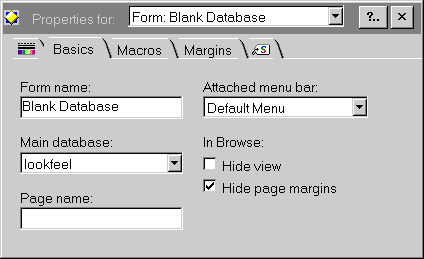
Fig. 8: Form properties notebook
Here you can do many other things. Rename the form. Give a name to the page. Change font, fontsize, fontcolor, etc. Create and link macros. Set page margins and create styles.
The last option, Styles, is useful when you have to do the same thing many times.
In our database, we create our own buttons. We don't use the default buttons because they are grey and I didn't find a way to change this. Now creating a button is not difficult. Select a shape, a size, and a color. For one button this is OK. But what about when you create ten buttons? I think you don't want to go to all these steps again. Create a style and you can apply it over and over again in your database.
There is one more thing to tell. Before you ever can create a database you have to start with a good plan on paper. If you do it like me, you end up deleting databases and starting all over again. A good design is half the work. So maybe you can start thinking about how you would create a database, what fields you would like to add, and how these fields should look.
Okay, this is about enough for now. Just look around and play with the options. Open some of the default databases (if you have installed them in the first place). Don't be afraid of messing things up. You can always close the database and ignore any changes you have made.
I hope I have your interest for the next few months and at the end you have a system of databases which you can use.